ART PROJECTS
From layout to lighting, this guide on setting up a safe welding space helps you avoid risks and protect your passion. Safety fuels creativity.
BY EMMA RADEBAUGH, ARTCENTRON
Ultimate Guide for Setting Up a Safe Welding Space
Artistic welding is an incredibly creative process, but it comes with a set of risks. Sparks, fumes, and hot metal are part of welding and demand immense caution. Setting up a welding space that keeps those sparks where they belong takes a bit of planning and know-how.
Whether you’ve got a spacious garage, a cozy shed, or just a small corner of a residential workshop, the right setup can be helpful. This step-by-step guide to setting up a safe welding space will walk you through everything you need to know to stay safe.
1. Pick the Right Spot
Your welding space needs a quality setup. Consider the square footage carefully, making sure you have enough room to move safely without tripping over tools or materials. There should also be pathways for quick exits in case of emergencies.
Flooring matters, too. A non-slip, fire-resistant surface is ideal, as sparks can land unexpectedly. Concrete floors are wonderful, while wooden floors will need protective mats. Walls should be durable and fire-resistant, so shield them from stray sparks with welding blankets.
Be mindful of electrical access. Your equipment should be near a properly rated outlet, ideally a 220V circuit. Check your machine’s requirements to be sure. Running extension cords across the floor increases tripping risks, so it’s best to work near an outlet.
2. Ground Everything
Electric shocks are no joke, so correctly ground your work surface and equipment. Connect a grounding clamp from your welder directly to the metal table or workbench. If your table isn’t metal, add a dedicated grounding rod driven into the earth nearby and connected to your equipment.
Additionally, check to see if the surface is clean and free of paint or rust for a solid connection. Always examine your cables and clamps for wear before every session.
3. Ventilation Isn’t Optional
Welding fumes can be dangerous, so set up extractor fans, open windows, or fume removal systems. Artistic welding setups might not have the best ventilation, so be thorough with this step. After all, your lungs didn’t sign up to inhale a fog of molten metal!
4. Lighting and Line of Sight
Good light fixtures illuminate your workspace while reducing mistakes and eye strain. Set up bright task lighting directly over your work area and softer ambient lighting to eliminate shadows. This setup helps no matter the size of your space.
5. Set Aside a Calibration Area
If space allows, designate a small, well-lit zone in your workshop for equipment setup and fine-tuning. Dedicating a space for optimizing weld torch calibration techniques improves performance and reinforces safe welding practices by ensuring your torch is running exactly as it should.
Safety Fuels Creativity
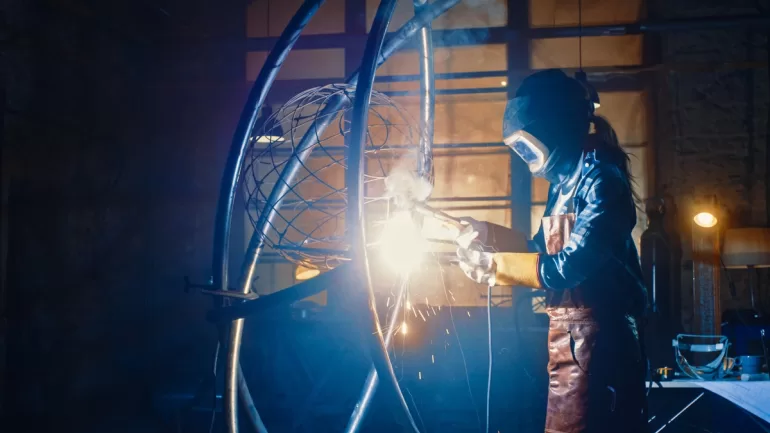
Don’t overlook personal protective gear just because you’re welding artistically! Put on your gloves, apron, helmet, and eye protection before you even strike an arc. Your safety gear and workspace setup work hand-in-hand to keep you safe. This step-by-step guide to setting up a safe welding space is about protecting your creative flow and ensuring your art stays as bright as your sparks.
