PAINTING
Learn how to achieve a flawless epoxy finish with expert tips on surface prep, resin mixing, and finishing touches for the perfect polished shine.
BY EMMA RODEBOUGH,ARTCENTRON
Expert Tips and Tricks on How to Make Epoxy Art Shine
Creating epoxy art offers endless possibilities, and achieving a smooth, polished finish requires skill and attention to detail. Whether you’re creating a high-gloss river table or a vibrant abstract piece, the key lies in careful preparation and execution. Here are practical tips and tricks to help you achieve a flawless epoxy finish.
Prep the Surface
Before applying epoxy, preparing the surface is essential for achieving a smooth result. Dust, grease, or residue left behind can disrupt adhesion and lead to imperfections. Using a solvent, such as acetone, is one of the best ways to clean surfaces effectively. This common solvent for painting and coating can strip away oils from the grain, which would otherwise block the epoxy from bonding.
Choose High-Quality Epoxy Resins
Low-quality resin can lead to yellowing, weaker finishes, or uneven curing. Fortunately, you can achieve a flawless epoxy finish with a high-quality epoxy resin. Look for self-leveling properties, which create a polished surface during application. Certain resins also feature UV-resistant qualities, so they won’t degrade with exposure to sunlight.
Mix Epoxy Well
The mixing process determines how well your epoxy cures. Follow the resin-to-hardener ratio provided in the instructions, as incorrect ratios can lead to sticky or poorly cured surfaces.
Stir the mixture slowly and thoroughly to blend the components without introducing air bubbles. Use a dedicated container and mixing tool to avoid contamination. Developing a careful mixing method prevents common issues:
- Incorrect ratios result in improperly cured epoxy that stays tacky over time.
- Mixing too quickly or incompletely blending the resin and hardener causes areas to cure inconsistently.
- Contamination from dirty tools or containers introduces impurities that negatively affect the clarity of your epoxy work.
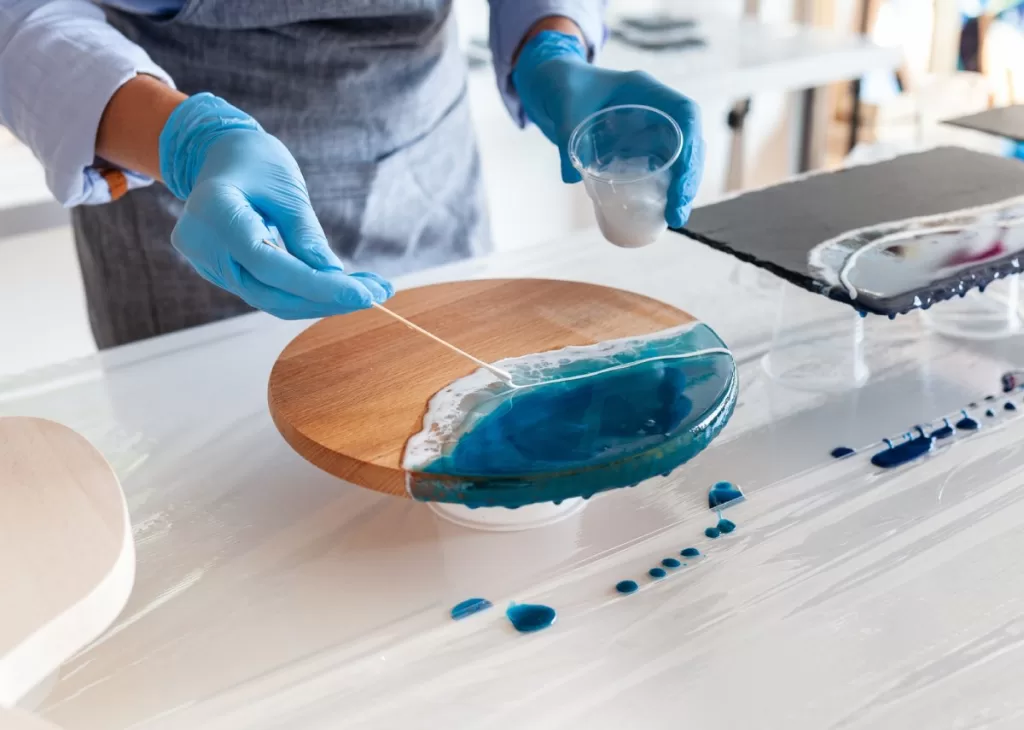
Apply Epoxy in Thin Layers
When pouring epoxy, you’ll have better control when you work in thin layers. You can also minimize bubbles or pooling. Spread the resin evenly across the surface with a spatula or flat tool, then allow it to cure before applying the next layer. This method creates more depth and dimension in designs like river tables or resin artworks. Get rid of surface bubbles immediately using a heat gun.
Maintain Your Workspace
Temperature and humidity also influence how epoxy cures. Ideal conditions include moderate temperatures, around 70 degrees Fahrenheit, and low humidity. High heat can speed up curing and cause uneven results, while cold temperatures may slow down the chemical process entirely.
Use a dehumidifier in damp climates or during rainy days to create the best possible working conditions. Also, cover your project to protect it from dust, pets, or other contaminants while it cures.
Add Final Touches After Curing
Once the epoxy cures, use finishing techniques to elevate its appearance. Sand the surface with high-grit sandpaper to remove minor imperfections or rough patches. Then, apply a clear topcoat for extra durability and shine. Buffing the surface brings out a glossy finish, leaving your work ready to display. For intricate pieces, use handheld tools to refine edges or carve detailed patterns into the design.
Are you an artist who works with epoxy? Do you have tips on how to achieve a flawless epoxy finish? Share your tips and tricks with us.
![]()