ART NEWS
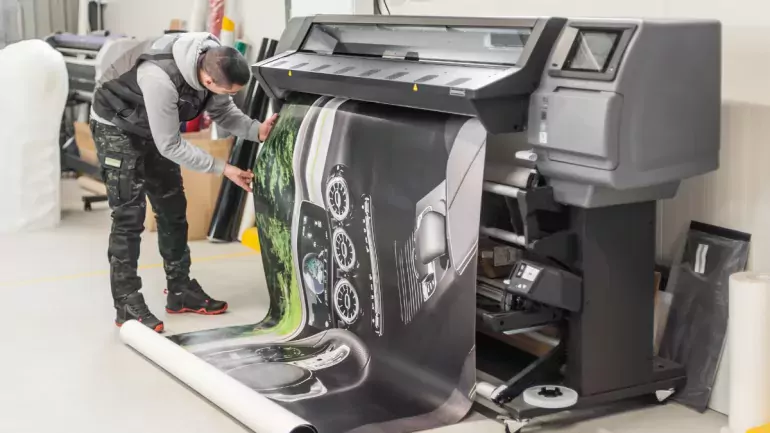
A printer at work. Printing your digital art requires mastering an entire different art form.
If you’ve ever wanted to turn your digital art into captivating prints, here are some expert tips for high-quality, professional printing of your digital creations.
MAX ROSSI, ARTCENTRON
For many artists, art is more than just a hobby. It’s a means of expressing yourself and getting to know the hidden corners of your soul. What better way to make a living than to sell the beauty you create with your own hands? To do so, you have to master an entirely different art—the art of printing. Learning how to print your art in a way that stays true to its vibrancy and detail can be difficult. If you’re a digital artist and want to learn how to create your own quality prints, let’s review what you need to know about printing your digital art.
Boosting Resolution
Believe it or not, printing at the wrong resolution is the most common and easily avoidable printing mistake. For every artist looking to print their work, the main goal is to ensure that their print looks exactly as it does on the computer screen. To do so, you’ll have to adjust the resolution of your image and the color—don’t worry, this doesn’t mean your print won’t turn out true to your vision.
Pixels make up your digital art, and the more pixels your image contains, the sharper the image will appear. You can measure the number of pixels in your image by pixels per inch (ppi). Most default settings put your canvas at 72 ppi, which isn’t best for printing. Instead, 300 ppi is the standard resolution for prints if you want your image to come out smooth and true to your creation. For example, if you wanted to print an 11×14 image at 300 ppi, you should have 3,300 x 4,200 pixels.
The same goes for dots per inch (dpi). Dpi is the number of ink dots a printer produces per inch, and much like the pixels of your image, they will determine the quality of the image. You should set your printer to the standard resolution of 300 dpi.
True To Color
When you first start printing your art, getting the smoothest, true-to-vision image is a matter of trial and error. Some printers tend to print darker or lighter than the image you see on your screen, while other printers may tend to desaturate the image. This means that you may have to adjust your image accordingly, but you can use a test print to find the perfect image settings for your computer. For example, if you notice that your printer tends to produce darker, desaturated images, consider making a copy of the image and increasing the contrast and saturation. This may take some fiddling, but the end result should look closer, if not identical, to the image on your screen.
Choosing the Right Paper
One of the most important things you need to know about printing your digital art is that the type of paper you choose will significantly impact the end product. Ultimately, you should print on some form of coated paper, which comes in glossy, semi-matte, and matte finishes. There are no rules to which one you choose, but there are some factors you should consider.
If your image has any text, you should avoid glossy finishes, as the glare makes the text hard to read. If you intend to display your print behind glass, matte is your best choice as it won’t reflect any light. Semi-gloss is the perfect choice if you intend to display your work without glass, regardless of if there’s text on your image. Which you choose depends on the effect you’re looking to create, and it may take some trial and error to create a print that reflects your original, intended image.
